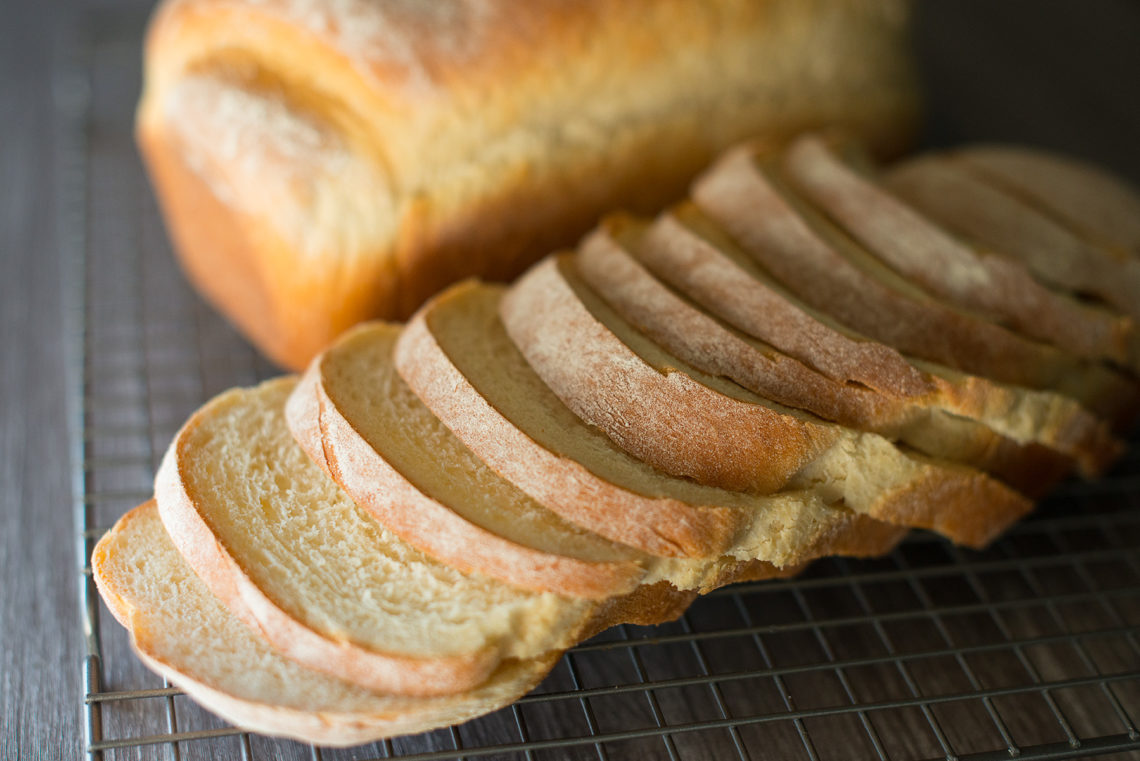
Sandwich Bread
Sandwich Bread
Let's talk bread. Sandwich bread. If I can save a penny, I SAVE A PENNY. And in this case, we save lots! Costing only .50 a loaf and providing three loaves at a time, homemade bread is where it's at.
For perfect slices every time, see the knife I use below!
Ingredients
- 2 cups Warm water Finger test: Run finger under running water. It should be ALMOST BE TO THE POINT WHERE YOU NEED TO REMOVE YOUR FINGER FROM THE WATER, but cool enough that you don't have to.
- 2 Tbsp Rapid rise active dry yeast.
- 1/2 Cup Sugar
- 4 Tbsp Butter Softened
- 2 Eggs Large, lightly beaten
- 2 Tsp Salt
- 6-7 Cups Bread flour Amount will vary. Add 6 cups. Add1/4 cup at a time until dough no longer sticks to side of the mixing bowl.
Instructions
-
In a stand mixer, add warm water, yeast and sugar. Give a stir to combine. Set a timer for 10 minutes to allow yeast to activate. Yeast will form a frothy texture at the top.
-
Prepare 6 cups bread flour. Set aside.
-
To the yeast mixture add butter, eggs and salt. Turn mixer and lowest setting to stir, about 10 seconds.
-
Add flour in small amounts, mixing after each addition.
-
Add remainder cup of flour ( the 7th cup), 1/4 cup at a time, until dough no longer sticks to the side of the bowl. Weather plays a huge part in this. Depending on moisture level in your home, the amount of flour needed will vary. Some days will be less, some will be more. This applies for the rise as well. Dough rises best in a warm environment. If ever I've had a batch not rise well, it was due to the house being too cold.
-
Let mixer knead the dough for 3 minutes.
-
Move dough into a large plastic or glass bowl. Cover dough with a clean kitchen towel and let rise in a warm area for 45 minutes, or until doubled in size.
-
After 45 minutes, remove towel and punch the dough. Cover and let rise for another 45 minutes, or until doubled in size.
-
Preheat oven to 375.
-
Spray loaf pans with nonstick spray.
-
Sprinkle a large cutting board with flour. Spread flour all over board, and rolling pin.
-
Let dough fall out of bowl onto cutting board. You might have to gently pull at it a bit.
-
Take the dough and flip it over, so that both sides have flour.
-
Use a bread knife to cut equally into three pieces. Place two pieces onto a separate plate.
-
Roll first piece into a rectangle.
-
Roll up from one end to the other, jelly roll style.
-
Squish both ends together a bit to have it resemble a little loaf. Holding the seem tightly in as you lift, place seem side down into one of the loaf pans.
-
Repeat for remainder two dough sections.
-
Cover loaves with a towel and let rise 30 minutes.
-
Bake for 20 minutes.
-
Remove from oven and allow to cool COMPLETELY.
-
Wrap each loaf in plastic wrap and store in a zippered plastic bag. Freeze until ready to use.
-
When ready to use, thaw and slice to desired thickness. Store in a zippered plastic bag.
Recipe Notes
Flour: Dough may require more flour than ingredient list calls for (more than 6-7 cups). Factors such as temperature of your home or humidity play a part. Add flour in increments of 1/4 cup at a time until dough no longer sticks to the mixing bowl.
Transferring to a plastic/glass bowl: This step is important. I’ve found the the dough doesn’t rise at all or as well in a metal bowl. This may be due to some chemical reaction. Once I switched to transferring to a plastic/glass bowl, huge success in rising!
Loaves: This recipe makes three smaller loaves (4.5 x 8.5)
If using standard sized loaf pans, recipe will yield two loaves. Also, instead of creating three equal sections after the second rise, you will only need to create two equal sections.


